Do buyers scroll past your Old Metairie listing in seconds or stop to book a showing? When you are selling an older home, presentation can be the difference between weeks on market and a fast, strong offer. You want to honor your home’s character while signaling move-in-ready function. In this guide, you will get a clear, room-by-room plan, a photo-first media checklist, a realistic timeline, and smart budget tips tailored to Old Metairie and our climate. Let’s dive in.
What Old Metairie buyers notice
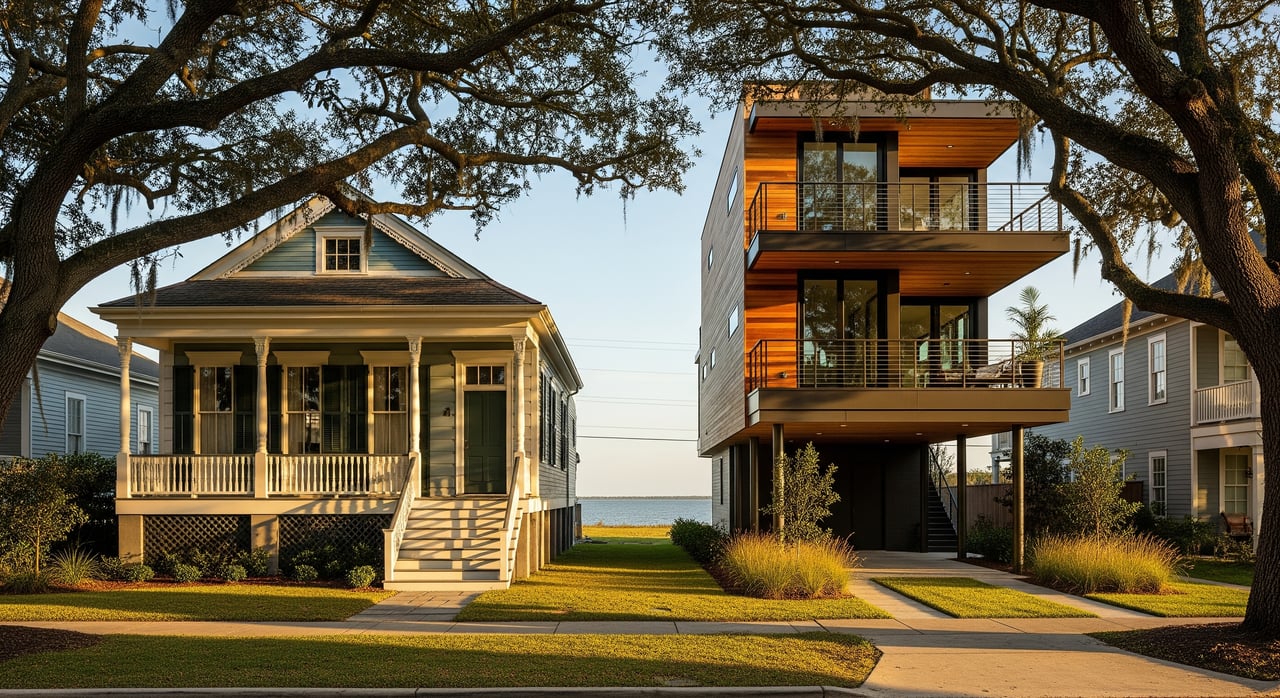
- Curb appeal and the oak canopy. Clean lines, a welcoming porch, and tidy landscaping set the tone.
- Original details. Hardwood floors, moldings, built-ins, and fireplaces attract attention when you showcase them.
- Climate readiness. Dry interiors, fresh caulk, mildew-free baths, and visible storm protection reduce concerns.
- Function for today. A light, neutral look with modern convenience cues helps buyers see everyday living.
Room-by-room staging plan
Curb and porch
- Power-wash paths and drive, trim shrubs, clean gutters, and freshen mulch. Repaint or refinish the front door if it looks tired.
- Add a styled doormat and two porch chairs with a small table if space allows. Keep textiles neutral and weather resistant.
- Move cars out of view for photos. Aim for early morning or late afternoon light to capture mature trees and lot context.
Entry
- Keep scale in check with a slim console and a mirror to bounce light.
- Hide coats and shoes. One simple bowl or tray is enough for keys.
Living and formal rooms
- Expose hardwood floors and highlight the fireplace and moldings.
- Use a conversational layout with scaled furniture and an area rug to define the space.
- Add layered lighting and one statement art piece. In small rooms, float furniture slightly off walls to create depth in photos.
Dining and entertaining
- Set the table for 4 to 6 with simple whiteware and a minimal centerpiece.
- Keep a clear path to the kitchen. If a formal dining room is secondary for your buyer pool, show a flexible setup in additional photos, such as a reading nook or workstation.
Kitchen
- Declutter counters, remove fridge magnets, and deep clean. Align cabinet doors and refresh worn caulk or grout.
- Style with one or two items, such as a fruit bowl or folded linen. Consider low-cost upgrades like painted cabinets and new hardware if the room feels dated.
Family and sunrooms
- Show flow and daily function. Keep media components tidy and cords hidden.
- If you have a sunroom or enclosed porch, stage it as a bonus lounge or play space.
Bedrooms
- Primary: neutral bedding, two matching nightstands with lamps, and minimal decor for a calm retreat.
- Secondary: show clear function with a bed plus a desk or reading chair. Use wall mounts to free up floor space in smaller rooms.
Bathrooms
- Make every surface spotless. Use fresh white towels, minimal toiletries, and clean grout.
- Small fixes go far. Update hardware, replace a worn toilet seat, and refresh caulk. Swap a shower curtain for glass when feasible.
Utility and storage
- Organize the garage and show a dry, tidy environment. Elevate the water heater if applicable and make mechanicals easy to view.
- If an attic or basement is unfinished, stage it as clean storage or a workshop zone.
Outdoor living
- Trim hedges, clean the pool if present, and stage a simple seating area.
- Highlight side yards and mature trees. Make sure drainage looks intact and visible.
Design choices that fit the neighborhood
- Respect original architecture. Do not hide built-ins or millwork. Keep window treatments light to show natural light.
- Choose warm neutrals with soft blues or muted greens. These tones photograph well and suit Southern interiors.
- Scale matters. Older formal rooms read best with tailored pieces instead of oversized sectionals.
- Add quiet modern cues. A staged home office corner, updated cabinet hardware, and a visible smart thermostat signal convenience.
- Mind humidity. Use dehumidifiers before photos, avoid fresh flowers that wilt quickly, and keep linens crisp and mildew free.
Vacant vs occupied strategies
- Vacant homes photograph flat and feel smaller. Full staging for key rooms such as living, dining, kitchen, and the primary suite is strongly recommended.
- For occupied homes, edit to 50 to 70 percent of current items, remove personal photos, and refresh textiles. Light staging can elevate focal rooms.
Timeline to list faster
- 4 to 6 weeks out: align on pricing and staging budget. Consider a pre-list inspection or walkthrough to surface maintenance items. Book stager, photographer, and contractors. Schedule landscaping.
- 2 to 4 weeks out: finish repairs, paint, and flooring. Start deep cleaning. Declutter and pack nonessential items. Confirm staging inventory and delivery.
- 3 to 7 days before photos: complete a final deep clean and HVAC service. Install staging. Walk through with your agent and stager to refine vignettes and remove remaining personal items.
- Photo day: capture interiors, exteriors, twilight, floor plan graphics, and a 3D tour. Add drone shots if the lot or roof visibility is a plus and local rules allow.
- Listing live: launch with full media and showing plan. Keep the home photo-ready for the first 2 to 3 weeks.
Vendor team that saves you time
- Professional stager with inventory suited to older homes in our area
- Photographer and videographer who deliver interiors, twilight, 3D tour, and optional aerials
- General handyman, painter, flooring pro, landscaper, and deep cleaner
- Electrician, plumber, and HVAC tech for quick safety and comfort fixes
- Optional pre-list inspector, plus permit contacts for exterior work when needed
Photo-first media plan
Pre-photo checklist
- Turn on all lights, match bulb color temperature, and replace burnt bulbs.
- Open shades to maximize daylight and remove screens that block views.
- Clear counters, hide cords, remove wall clutter, and make beds with neutral linens.
- Remove trash, toys, pet dishes, and vehicles from view.
- Add neutral plants or quality faux greenery without water risks.
Media to request
- High-resolution interior photos of living, kitchen, and primary suite
- Exterior hero and twilight shots that show canopy oaks and lot size
- Complete room-by-room set, a floor plan graphic, and a 60 to 90 second walk-through video
- Matterport or similar 3D tour, plus aerials when appropriate
Shot list to guide your team
- Curb view with mature oaks and approach
- Front door and foyer
- Living room with fireplace if present
- Formal dining staged for daily use
- Kitchen wide shot plus counter and appliance details
- Breakfast nook or informal dining
- Family room or media area
- Primary bedroom wide and ensuite details
- Secondary bedrooms staged as a bedroom and as an office
- Bathrooms, laundry, mudroom, and garage
- Backyard, patio, pool, and notable lot features
- Street view that supports scale and spacing
Virtual staging notes
- If you use virtual staging, label images clearly and include at least one unaltered photo for each space.
- Avoid heavy HDR or edits that misrepresent condition. Trust grows when images match reality at showings.
Budget, ROI, and how to decide
- Treat staging as an investment in presentation and speed to offer. Outcomes vary by price point, condition, and demand, but better visuals and fewer maintenance objections usually help.
- Typical ranges vary by project scope. Light refresh staging can run about $500 to $3,000. Partial staging of key rooms can run about $2,000 to $6,000. Full staging for a vacant home can run about $4,000 to $15,000 plus.
- Plan for supporting costs. Photography often runs about $300 to $1,000 plus, 3D scans about $150 to $500, with landscaping and small repairs as needed.
- How to choose your spend: align with your price band and buyer expectations. A 1 to 3 percent lift in price or a shorter market time can justify a moderate staging budget, especially for vacant homes.
Risks to avoid in our climate
- Over-styling that hides original detail or distorts room scale
- Skipping obvious repairs that buyers will find during showings
- Shooting photos before staging is fully installed
- Using decor that wilts or shows humidity damage quickly
Ready to move fast?
You deserve a design-forward strategy that protects your time and elevates your outcome. From vendor curation and staging to photography, 3D tours, and social amplification, you get a marketing-first plan built for Old Metairie’s buyers and our climate. If you want a boutique, concierge experience with big-platform reach, connect with Amberly Stuart to map your pre-list plan.
FAQs
Do older Old Metairie homes need modern or period styling?
- Blend both. Preserve original features like hardwoods and moldings, then add clean-lined, neutral furnishings and subtle modern cues so function feels current without erasing character.
Is virtual staging as effective for showings in Old Metairie?
- It can improve online presentation, but physical staging typically converts better during in-person tours. If you use virtual images, label them and also provide unaltered photos.
Should I update kitchen and bath fixtures before listing?
- Target small, cosmetic wins first. Fresh paint, updated hardware, new faucets, and clean grout usually deliver stronger ROI than a full remodel before sale.
How should we address moisture or past flood concerns?
- Fix visible issues before photos, keep interiors dry and spotless, and disclose known history as required. A short pre-list inspection can show transparency and reduce buyer friction.
How long should staging stay in place once we list?
- Keep the full presentation for the first 30 to 60 days or until you go under contract. Rental contracts often run 30 to 90 days, which covers the most active window.